The Sanctum of the Cirrus is a dungeon that players visit during the Aeolus Vale region arc in ‘Dragon Quest 7 Reimagined.‘ The second trip to this location introduces a wind-guiding puzzle that has stumped many players. The goal is to rotate walls so that the breeze from the Sacred Stone reaches a darkened statue below.
This puzzle takes place on Level 4 of the Sanctum. Players need to use red buttons on the floor to rotate wall sections, creating a connected path for the wind to travel from north to south. Getting it wrong is not permanent, though. A “start over” option near the top-right of the screen resets every wall to its default position.
Players Will Need To Return The Sacred Stone
Before touching any switches, players must place the Sacred Stone back on its original pedestal. That pedestal sits in the room where Fidelia opens the gate on Level 4. If players have already passed through the gate, they need to backtrack.
Enter the door on the right side of the roof and head down the staircase. Step on the red button inside to rotate the wall and open a path back to the pedestal room. Place the Sacred Stone, and the wind will immediately begin flowing through the northern door of the puzzle room.
Related: Dragon Quest 7 Reimagined: Where To Find King Scoober?
Fidelia is essential to this section because only someone with Cirrus lineage can open the locked gate. She joins the party as a guest after speaking with the grandmother in Aeolus Vale and agreeing to help investigate the Sanctum.
How To Solve Sanctum Of The Cirrus Puzzle?
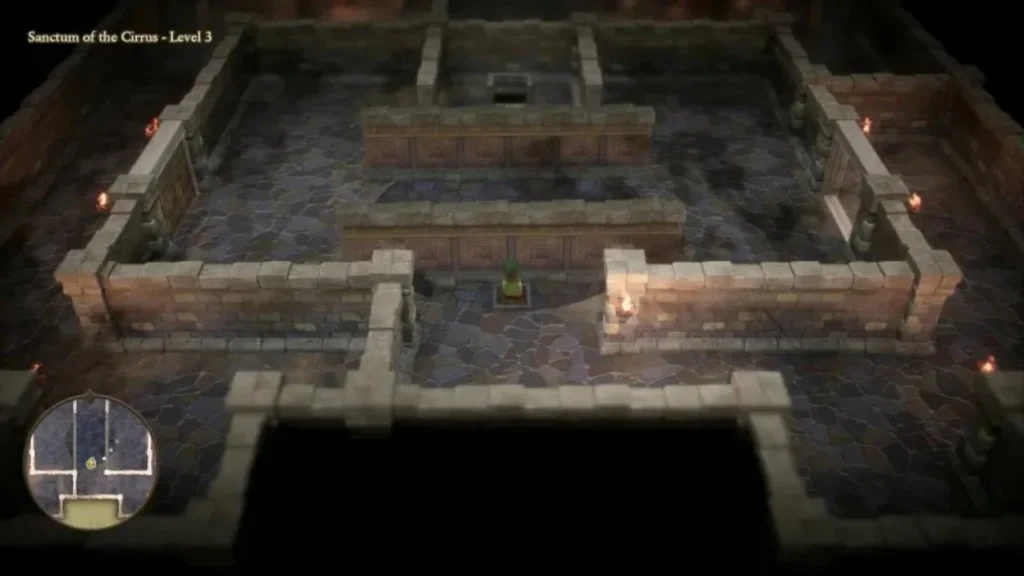
Once the Sacred Stone is placed and the wind is flowing, head to the puzzle room on Level 4. Step on the first red button to gain access to the middle of the room. From there, five wall rotations are needed to complete the path. First, rotate the wall where the wind enters so it sends the breeze down and to the left.
Second, rotate the wall to the left of section one to keep the wind moving downward. Third, rotate the wall beneath section two to continue the downward path. Fourth, rotate the wall beneath section three to redirect the wind to the right. Fifth, rotate the wall to the right of section four to send the wind through the large southern door.
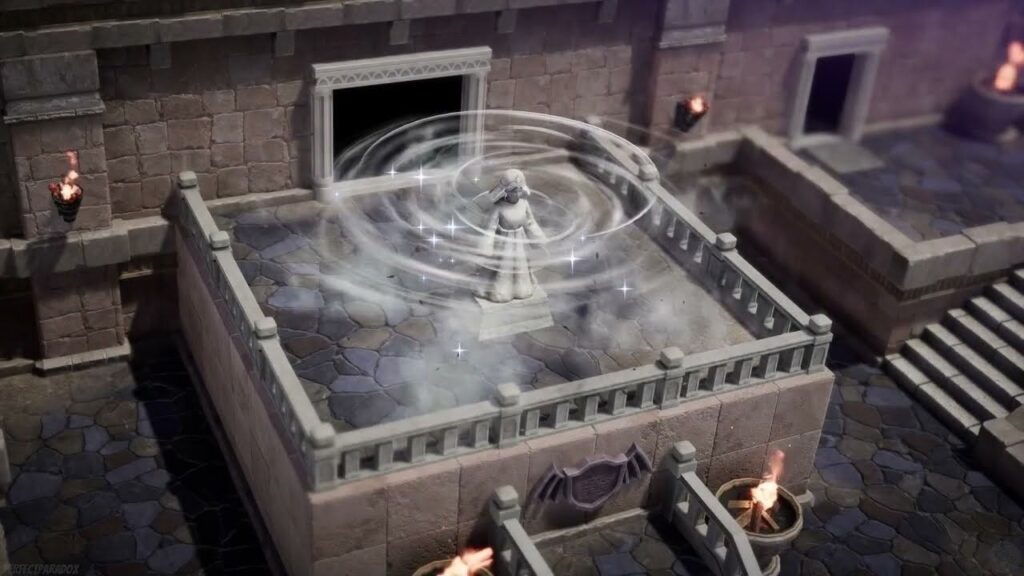
A cutscene will play, showing the wind clearing the darkness from the statue outside. Fidelia then collects the Sacred Stone from the pedestal. Pass through the southern door to approach the now-cleansed statue.
What Happens After Solving The Puzzle?
Once you reach the statue, the Cumulus Vex finally reveals itself. The creature was hiding in the darkness all this time. The player needs to engage it after this since it serves as the Demon King’s pawn in the Aeolus Vale region. It also summons multiple Sky Fry enemies, which makes the boss fight much tougher.
You will need to deal with the spawn, or else they will quickly accumulate and make for a major headache during the boss fight. But once you defeat the boss, you can quickly inspect the statue. Inside, you will receive a Prayer Ring. On your way back, you will need to stop by the Custodian’s Camp to return to Aeolus. Vale.
In Case You Missed It: ARC Raiders: How To Complete Launch Tower Loot?
There, you can speak to the NPC on the northern side of the well for a short cutscene. You can then immediately return to the Praetor’s house to trigger the final cutscenes and end up with the Sacred Stone.
